
Shop bed frames & foundations
Style meets support and function.
-
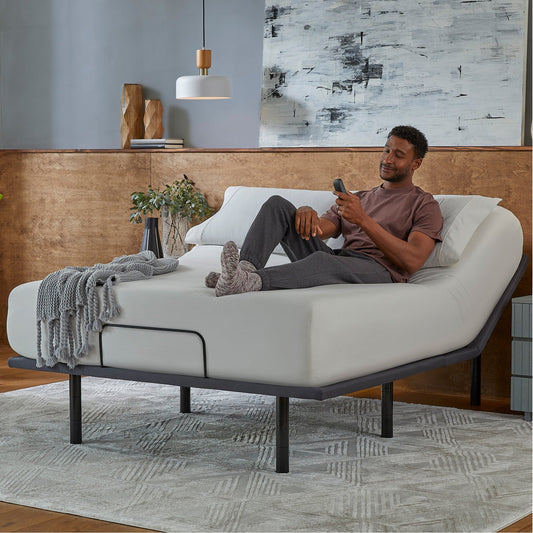
baselogic™ Silver Adjustable Base Regular price $849.00-$1,299.00Regular priceUnit price per -
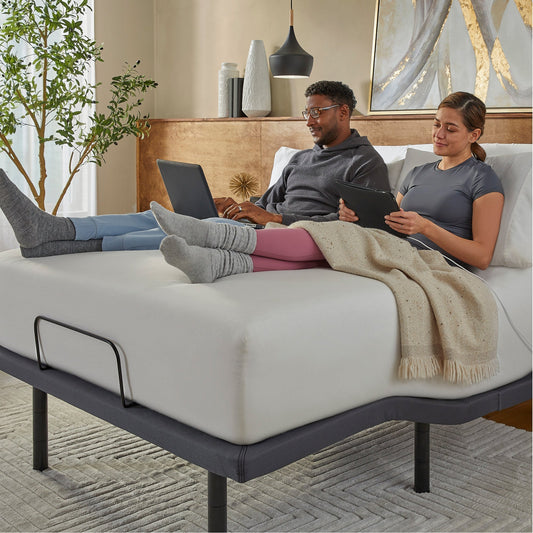
baselogic™ Gold Adjustable Base Regular price $1,199.00-$1,699.00Regular priceUnit price per -
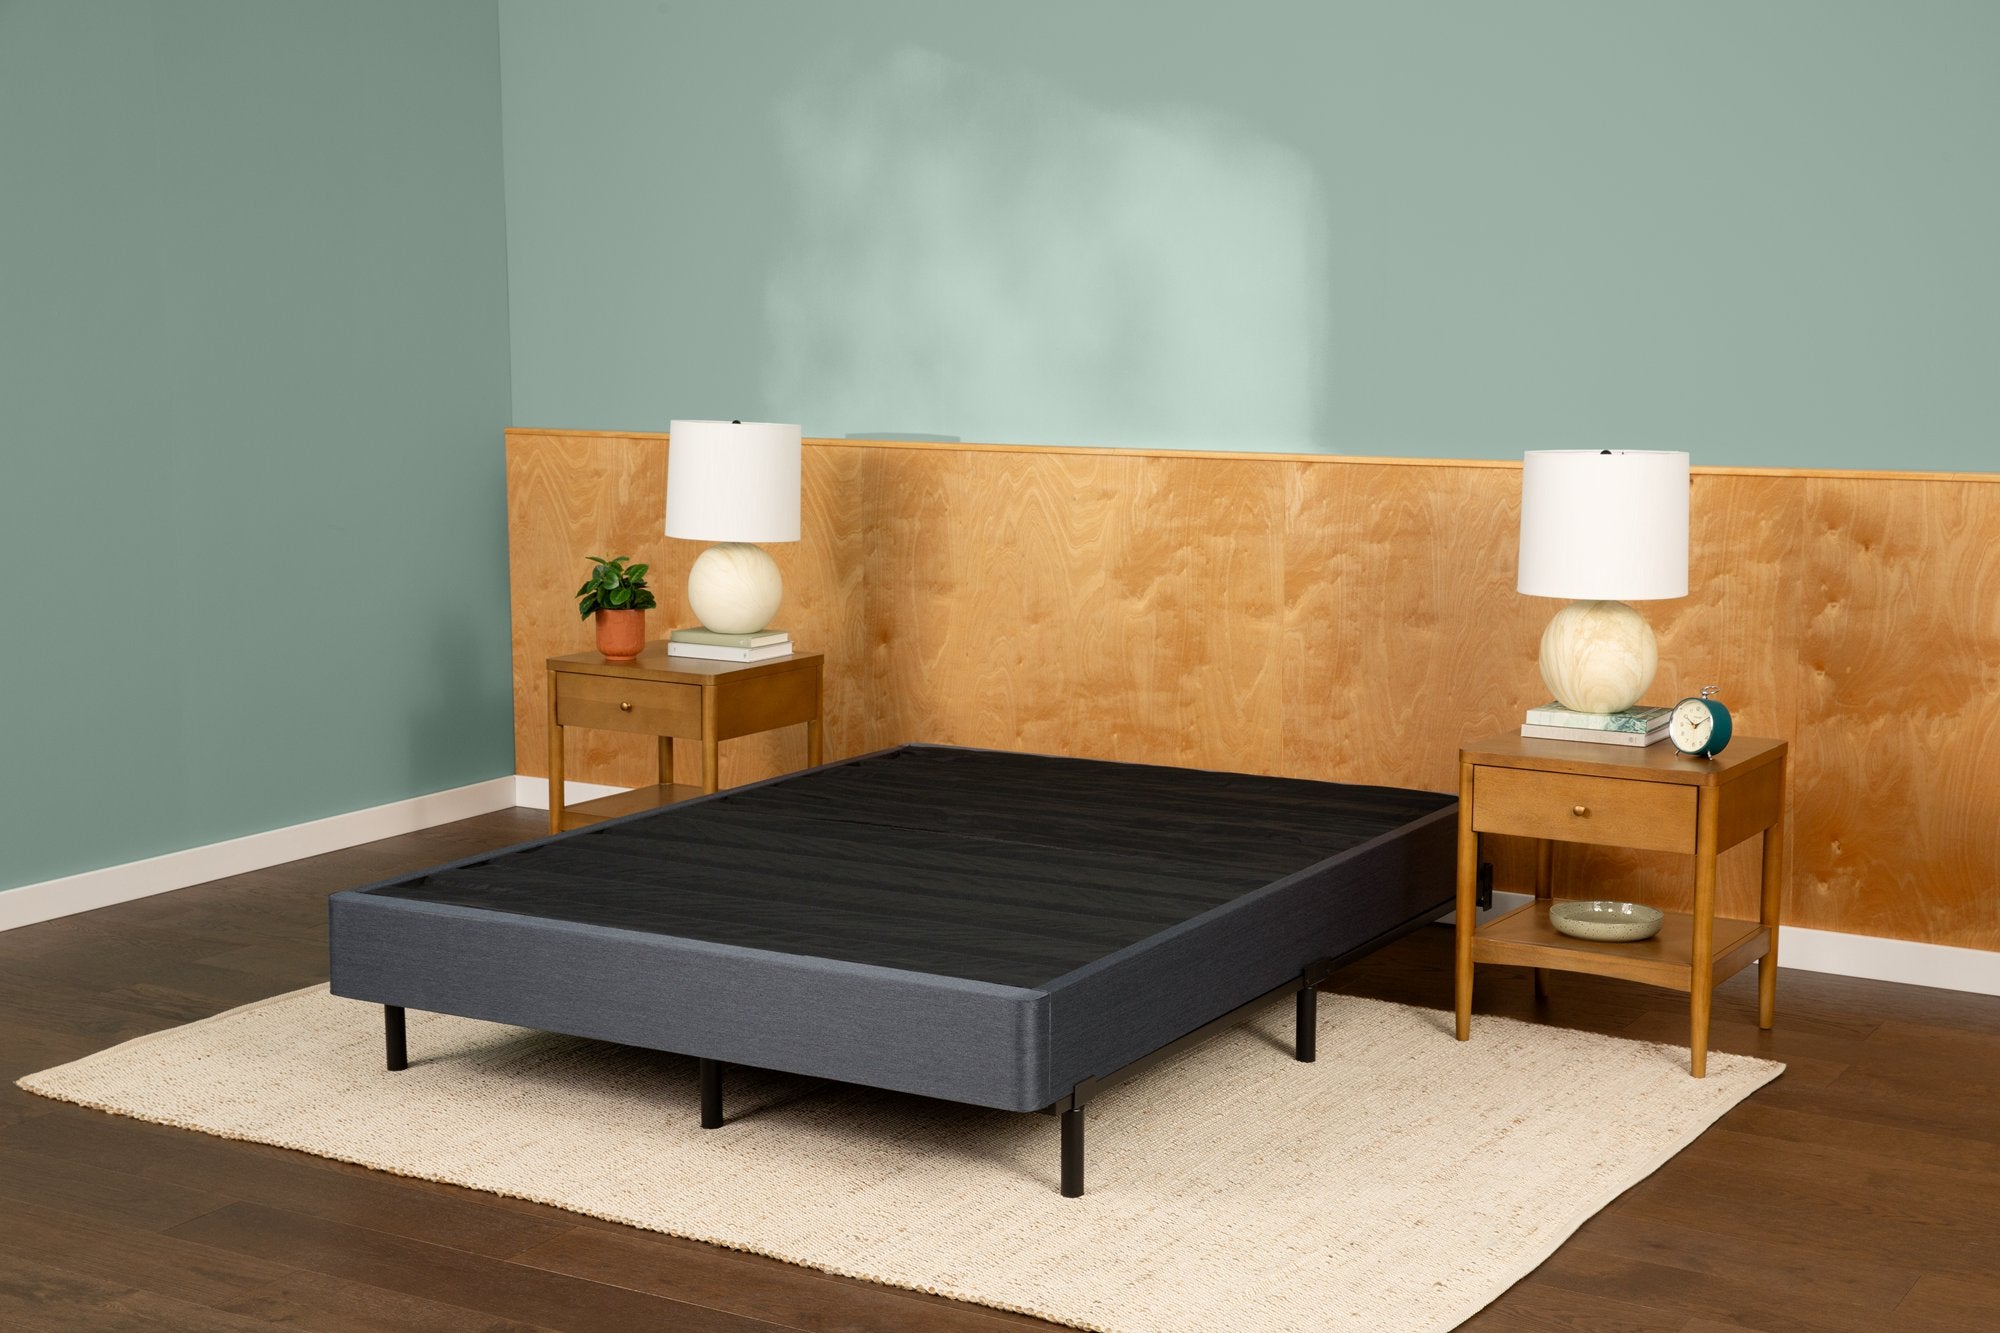
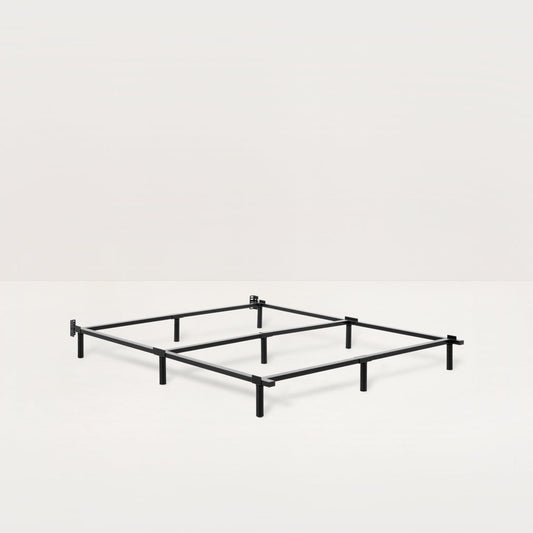
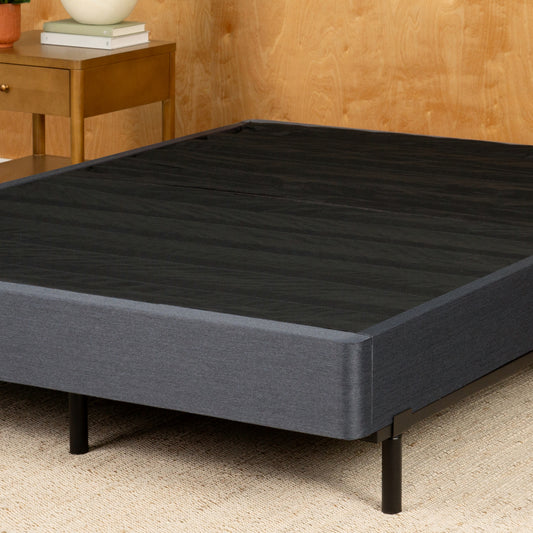
Metal Base Regular price $145.00-$195.00Regular priceUnit price per


Find the perfect frame for your bed
There are a few things to consider when shopping for a frame for your bed.
- You need to decide what type of frame you want for your mattress since there are so many different kinds out there to choose from. There are platform beds to wooden frames to metal frames to adjustable frames and more. Each with its own benefits and drawbacks.
- You need to make sure it works with your mattress and it is the correct size: Twin, Twin XL, Full, Queen, King, Cal King. Also, make sure it will fit into the room you plan on putting it in.
- Consider your budget and decide how much you're willing to spend.
- Think about the style of the frame and whether you want it to match the rest of your bedroom furniture or stand out as a focal point.
- Find out if the bedframe and or your mattress requires a box spring or not.
- Read reviews online or ask friends for recommendations to find the perfect one for you.
Once you figure all of this out you will be on the right path to find the perfect bed for you. See our frequently asked questions below if you still aren’t sure.
Choose Tuft & Needle
Shop & buy online worry-free
-

100-night trial
-

Free shipping & returns
-

10-year limited warranty
-

Quick, simple financing


Frequently asked questions
What different kinds of frames are there?
There are so many different types to choose from that it can be a little overwhelming. There are Simple, Metal, Upholstered, Platform, Adjustable, Wooden, Wrought Iron, Murphy, Bunk Beds, Trundles, Poster Beds, Canopy, Tatami, Futons, Storage frames, etc. that all range from Traditional to Country to Modern to Industrial.
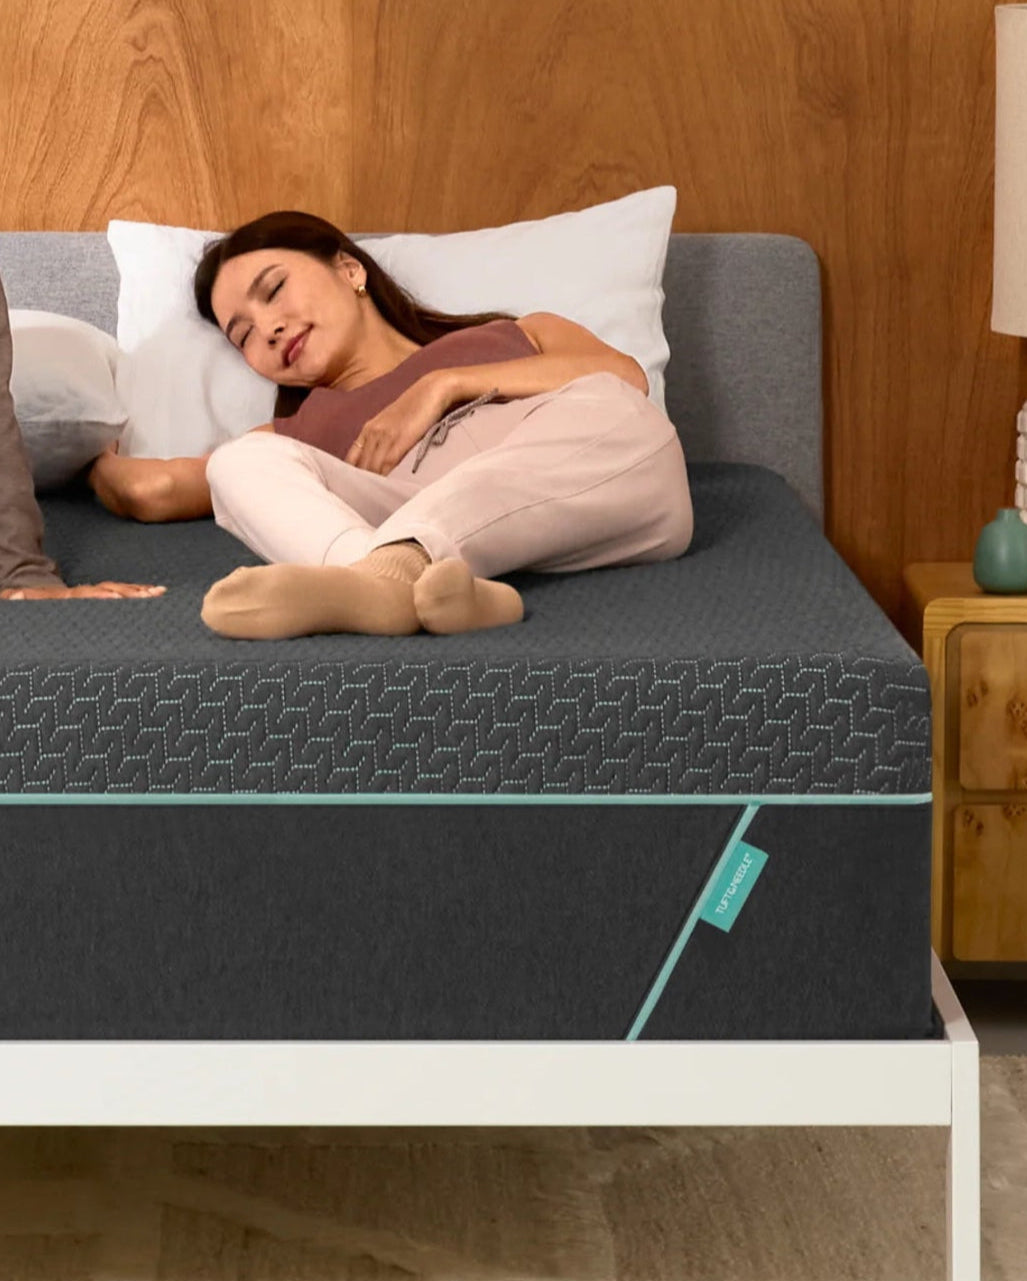
Can a mattress be put directly on the floor?
Majority of mattresses are designed with the idea that they will be sitting on a bed base so putting them directly on the floor could make wear and tear happen a lot faster. This reason along with the fact that doing so may run the risk of your mattress warranty being voided, most mattress companies, including ours, would recommend not putting your mattress directly on the ground.
Do I need a box spring with a bed frame?
This would depend on your particular mattress and specific bed frame so make sure to read up. None of the Tuft & Needle frames require a box spring/foundation.
What size bed frame do I need?
The size of frame you purchase should correspond with the size of the mattress you have. So for example, if you have a Queen mattress, you will want to look at Queen sized bed frames.
Will Tuft & Needle bed frames work with other mattresses from other brands?
Yes, although they are designed to work best with Tuft & Needle mattresses so you feel all of its supportive benefits. Also, before putting another mattress on a T&N frame, make sure to find out if it requires a foundation or not.
Why should I buy a bed frame online?
It’s not only easy and convenient, if you purchase from Tuft & Needle they ship free right to your front door and come with a 100-night trial.